Back-to-school time is upon us! For busy families, the stress of planning healthy lunchbox recipes and packing healthy lunches for children and adults, alike, can be quite a burden.
After a few weeks of focused effort, it is common for even the most devoted to find the process of grocery shopping and food preparation too monotonous and time consuming, resulting in a retreat to fast food and convenience options.
Luckily, the days of the “brown bag” sandwich and chips have long passed and there are a multitude of creative recipes and tools available to make packing your lunch not only delicious and healthy, but also fun.
The Bento Box Method
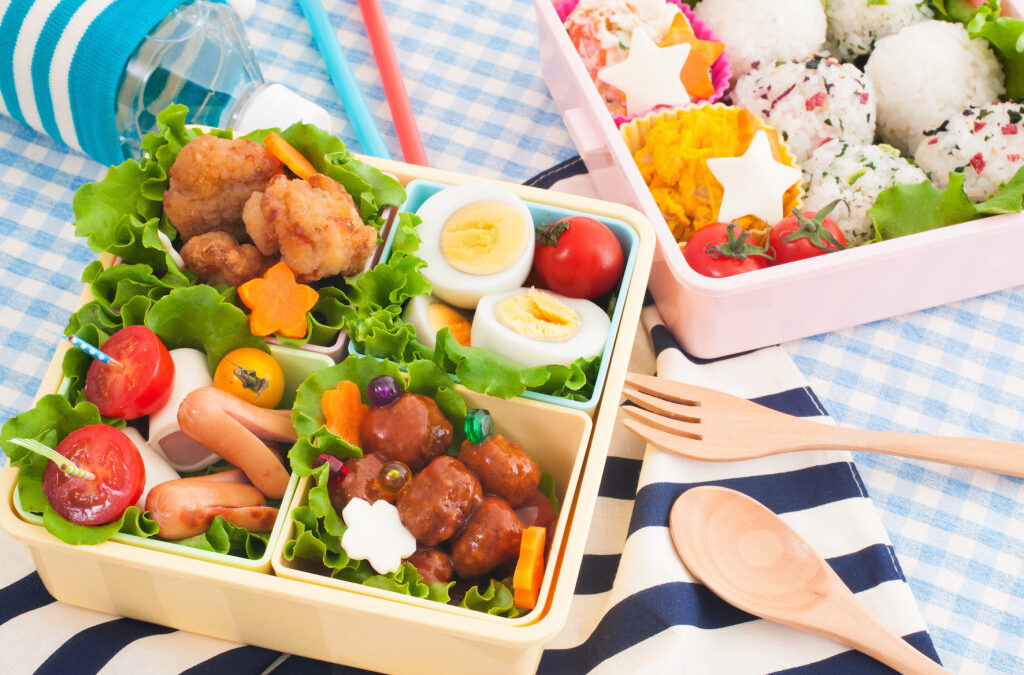
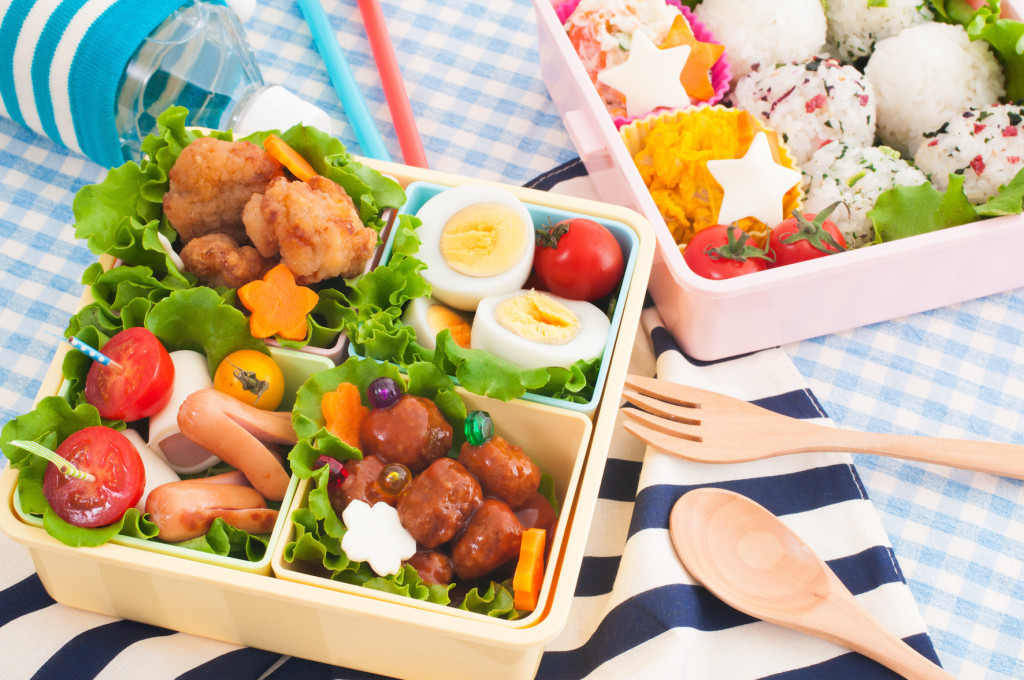
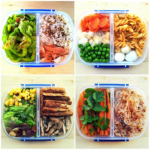
Common in Japanese cuisine, a Bento Box is a container which holds single-portion takeout food or a home-packed meal. Containers often have dividers to separate each component. In recent years, the Bento Box craze has taken over the market in restaurants and in retail stores – manufacturers are creating more and more unique containers designed for consumers to make their own Bento Box meals at home. If you’re looking for a way to add variety to your day, building a Bento Box lunch may be perfect for you.
Check out these ideas for healthy lunchbox recipes:
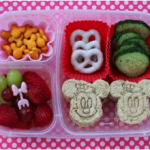
The “Healthy-Food-is-Fun” Bento
Step 1: Make a creative sandwich – use a cookie cutter to make a peanut butter and jelly or hummus and veggie sandwich more fun for little eyes
Step 2: Add small sections of sliced vegetables and fresh cut fruit; consider including a yogurt-based fruit or vegetable dip to add flavor!
|
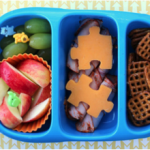
The “Snack-for-Lunch” Bento
Section 1: Protein/Healthy Fats – low sodium deli meat, reduced fat cheese, beef jerky, guacamole, hummus or peanut butter
Section 2: Starch – whole grain pita wedges, pretzels, rice cakes or whole grain tortilla
Section 3: Fruits & Vegetables – baby carrots, cucumber, sliced bell pepper, celery + apples, grapes, slices berries, orange slices
|

The “Leftovers-for-Lunch” Bento
Section 1: Lean protein from last night’s dinner or an alternate protein source such as hummus or hard boiled eggs
Section 2: A LARGE portion of vegetables – cooked or raw
Section 3: A smaller portion of your favorite starchy side. Choose ~ ½ cup of whole grain rice, pasta, beans or starchy vegetables like peas or corn.
|
Bonus: The “Breakfast-on-the-Go” Bento
Bento boxes don’t have to be reserved for lunch only. Why not pack a few breakfast staples when a busy morning strikes? Combine 1-2 hard-boiled eggs, a handful of your favorite nuts and fresh or dried fruit!
The Mason Jar Method
Mason jars aren’t just for canning anymore. Why not utilize them to build a salad for everyday of the week? This delightful alternative to your average lunch is not only healthy, eye-appealing and delicious but it will actually make your week easier. Glass jars preserve freshness of foods longer than traditional plastic containers, which makes this an ideal option for those who like to prep meals in advance. Plan your lunches for the week on the weekend, spend about 30 minutes early in the week filling each jar and voila, you have a week’s worth of lunches ready to grab and go.
The Ingredient Layering Process
Starting with the bottom of the jar and building upward; layer ingredients as follows:
- Base Layer: Wet ingredients and dressing – keeping the items with higher moisture content in the bottom of the jar will prevent your salad from becoming soggy.
- Layer 2: Moisture resistant veggies/fruit – place more hearty varieties of produce in the layer just above the wet ingredients; these items hold up well to the moisture. Examples: cherry tomatoes, onion, peppers, carrots, corn, beans/legumes.
- Layer 3: Protein/cheese – choose your favorite lean protein: leftover chicken breast from dinner the night before or a plant-based protein like quinoa or edamame work great.
- Top Layer: Crisp lettuce and other crunchy toppings – romaine, spinach and arugula make for a delicious, nutrient-packed lunch; include a Tbsp of slivered almonds or walnuts for extra crunch and a dose of healthy fat. When it’s time for lunch, just shake and serve.
Try out this delicious Chopped Taco Mason Jar Salad adapted from OrganizeYourselfSkinny.com.
You will need:
- 5 wide-mouth, quart sized mason jars
- 1 lb ground turkey
- 1 can black beans, drained
- 1 packet taco seasoning
- 1¼ cups salsa
- 5 tablespoons plain Greek yogurt
- 1 quart cherry tomatoes, halved
- 5 mini cucumbers, sliced
- 1 small to medium red onion, chopped
- 2 avocados, chopped
- juice from half of a lime
- 11 ounce jar pickled jalapeños, drained and chopped
- 5 cups chopped romaine lettuce
Preparation Instructions:
- In a medium pan, cook the ground turkey until no longer pink. Add black beans, seasoning packet, and the amount of water stated in seasoning packet directions. Let taco mixture cool.
- Divide ingredients among mason jars starting with salsa then adding greek yogurt, tomatoes, cucumbers, onions, jalapeños, avocados, taco meat, then lettuce. Place lid on and close tight. No need to vacuum seal.
- When ready to eat, shake well. Pour into a bowl or eat directly out of the jar!
REMEMBER: These salads can be made 5-6 days ahead of time! That’s 1-week worth of lunches out of 1 pot!

References:
Chopped Taco Salad Recipe: www.organizeyourselfskinny.com/2014/01/25/chopped-taco-mason-jar-salad/
How to Build a Mason Jar Salad: http://letslassothemoon.com/2014/12/20/mason-jar-recipes/
Pictures obtained from Flickr – “Commercial Use Allowed” category.